Part 1: How to Register Macsome iTunes Converter for Mac?
Step 1: At first, download, install, and open Macsome iTunes Converter for Mac. Then you can click the "Register" icon on the bottom left of the user interface or hit "Menu (on the upper right) - Register" to open the registration window.
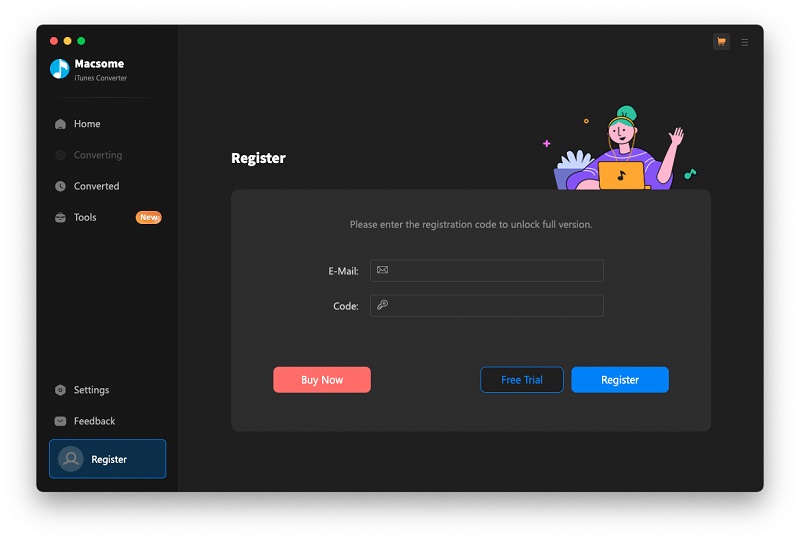
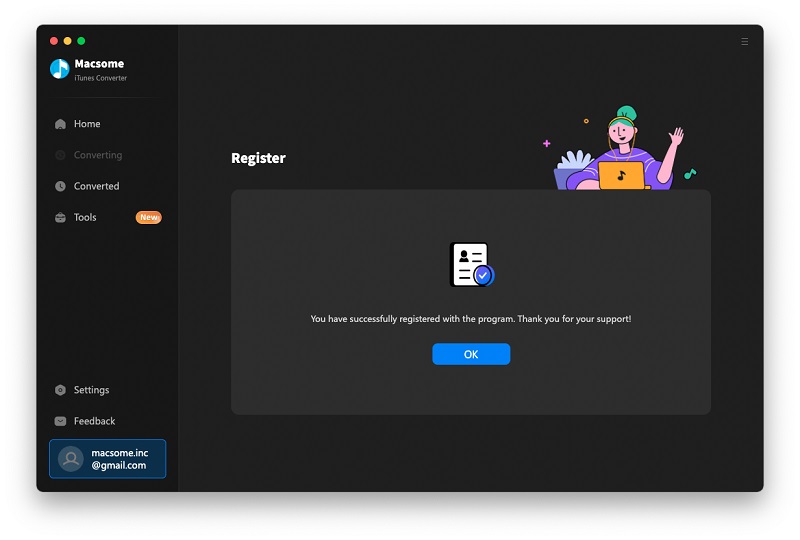
Step 2: Copy and paste your email address and code into it. Then click "Register". When the registration is finished, Macsome iTunes Converter is a full version without limits.
Part 2: How to Convert Apple Music to MP3/AAC/WAV/FLAC/AIFF/ALAC on Mac?
1. How to Set the Preferences
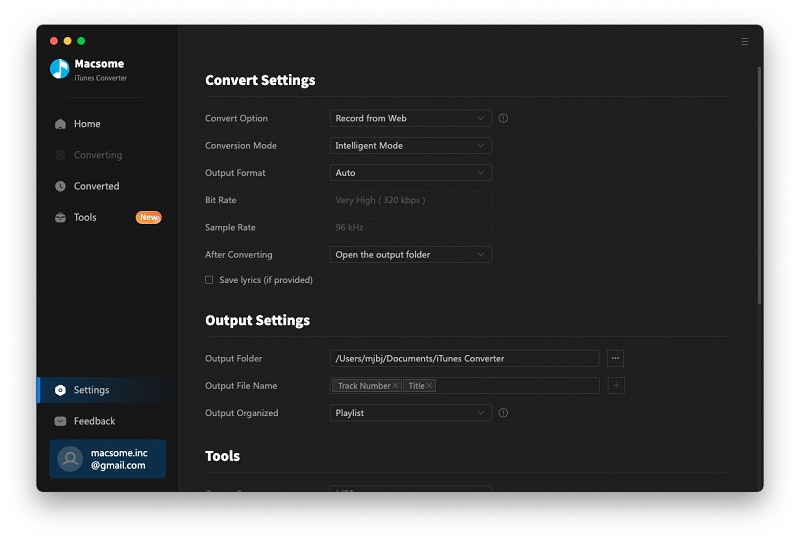
Click the "Settings" option in the bottom left corner, and you can set the Convert Option (Record from Web, Record from App), Conversion Mode (Intelligent Mode, Record Mode, YouTube Mode), Output Format (Recommended, MP3, AAC, WAV, FLAC, AIFF, or ALAC), Output Folder, and more. If necessary, you can also reset the output quality by changing the bit rate or sample rate as needed.
2. How to Add Apple Music Songs to Convert
Download from App:
If you choose Record from App, Apple Music will launch at the same time.
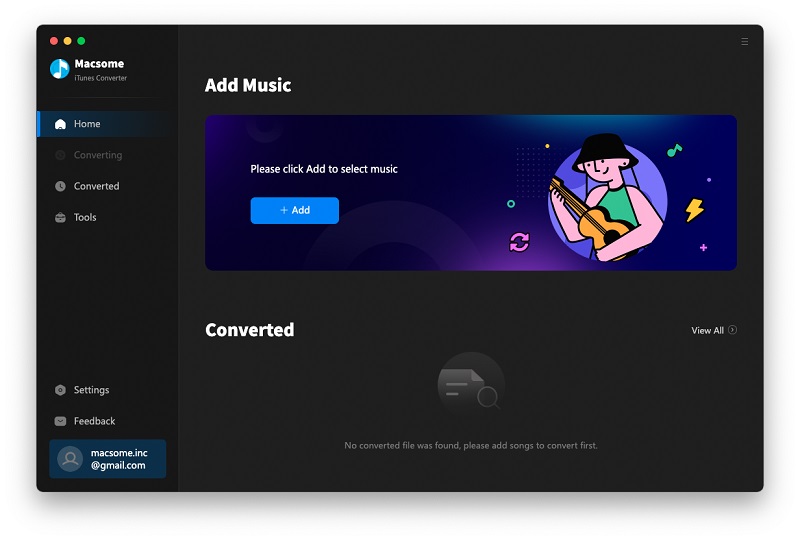
Click the "+ Add" button on the blue banner, and then there will be a pop-up window listing all the iTunes songs in your library. Select the Apple Music tracks you want to convert.
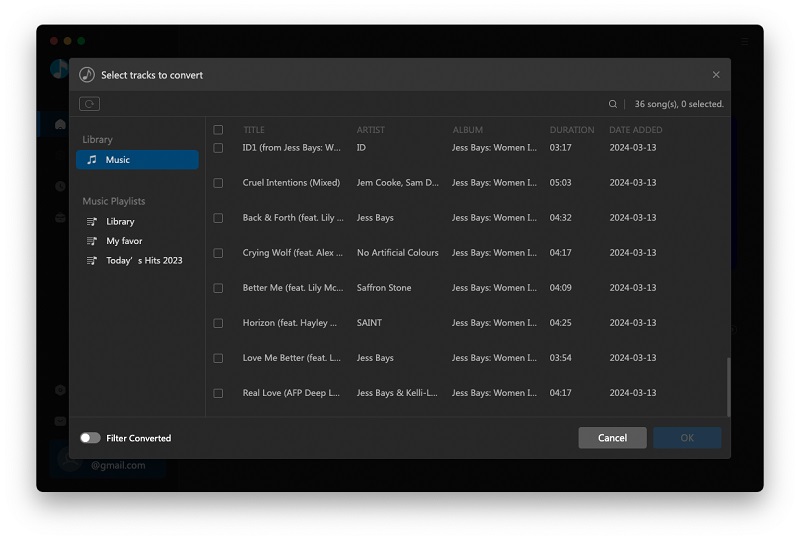
Now the software supports input files by the Apple Music App mode: Apple Music, protected audiobooks, and any audio that can be played on Apple Music.
Supported Input formats: Apple Music, M4P, Protected AAC (from the iTunes Store), AAC, ALAC, MP3, iTunes M4B, M4A music, AIFF, WAV, and Audible AA, AAX.
Record from Web:
If you choose Record from Web mode, the web player will open, and you can sign in to your Apple Music account.
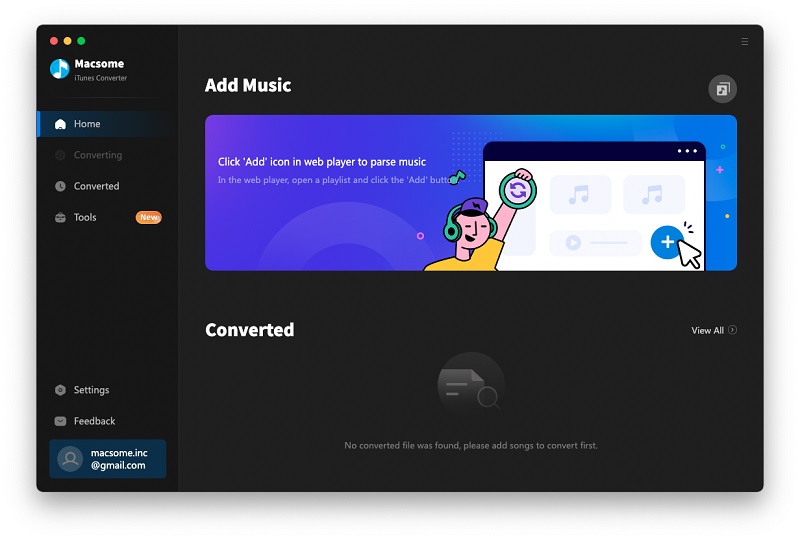
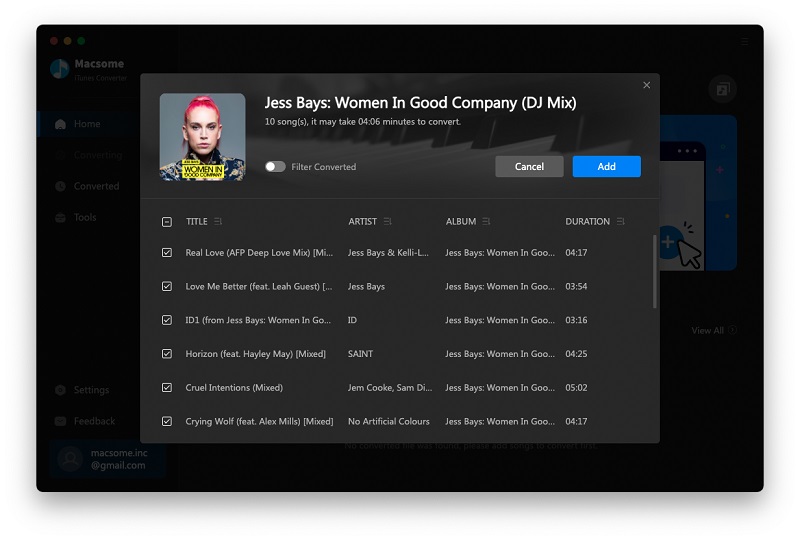
Browse a playlist, an album, or an artist, select the playlist you want to download and open it. Press the "Click to add" button, and Macsome will parse the link. Select the songs you want to download, click the "Add" button to import all selected songs to the main window.
3. Start Conversion
After finishing the above settings, just click the "Convert" button to start your iTunes music conversion.

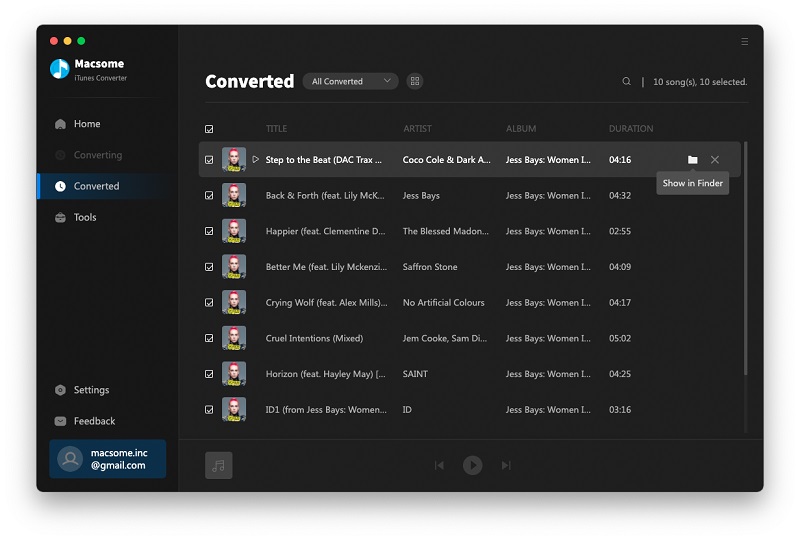
When the conversion is finished, you can get the output file directly by clicking the "Converted" panel. Please click the "folder" icon to find Apple Music stored on your local drive. Now you can listen to Apple Music on your Mac or other devices at will.
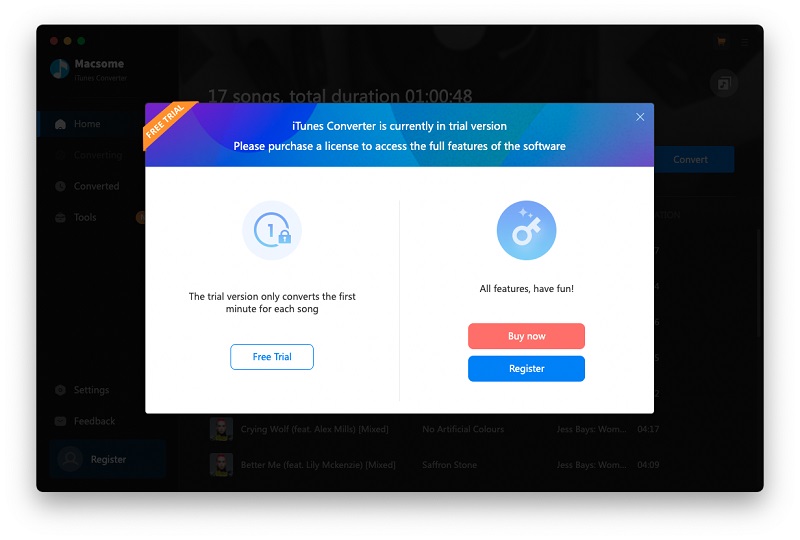
Before you register it, the version is a trial version, which can only convert 1 minute of each audio file. If you want to remove the limitations, just purchase the full version.
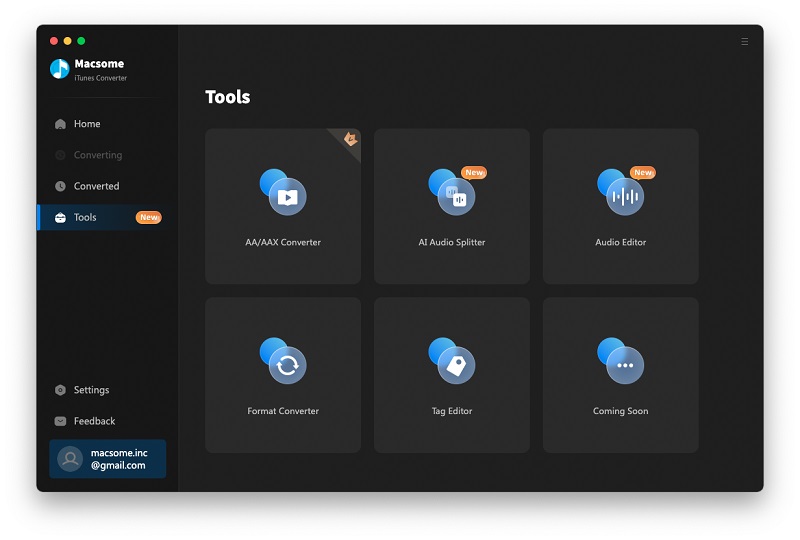
Part 3: Useful Built-in Tools of Macsome iTunes Converter
Apart from converting Apple Music songs, Macsome also offers some useful tools, except for the AA/AAX Converter, which is only available to registered users, other tools are free.
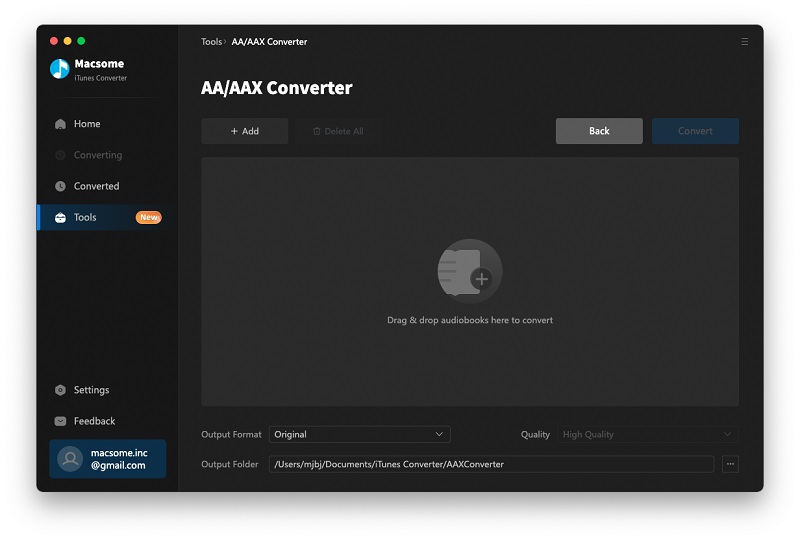
The AA/AAX Converter allows you to convert local .aa or .aax audiobooks to MP3, M4A, or M4B formats with original quality. Drag files from the local folder to the panel or click "+ Add" to add the local audiobook files, then set the output format, sound quality, and output folder. Then click "Convert" to begin the conversion process.
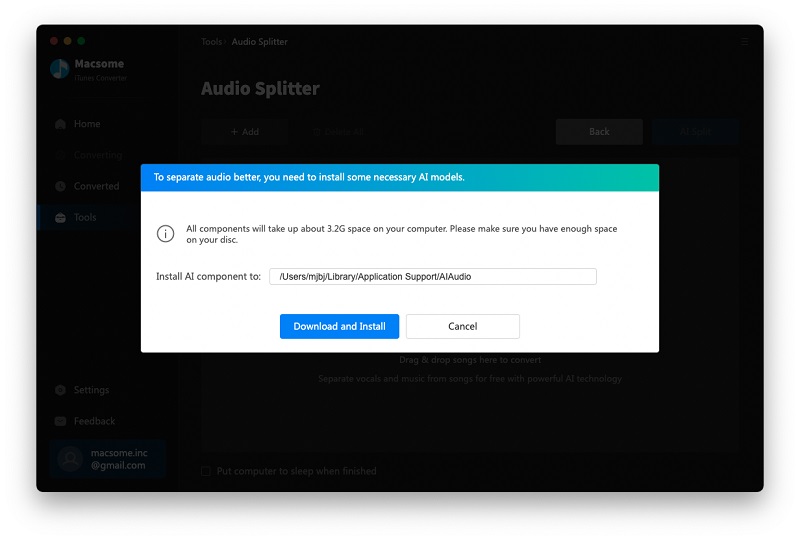
The AI Audio Spliter is a specialized tool designed to separate vocals and instrumental parts within audio tracks. This advanced technology allows you to isolate and extract these components, giving you more control over your audio content. You will first need to install some necessary AI models.
Once installed, drag local files or click "+ Add" to add the audio files you want to edit, then click the "AI Split" button to start the splitting process. The duration depends on the length of the audio and your computer's processing speed.
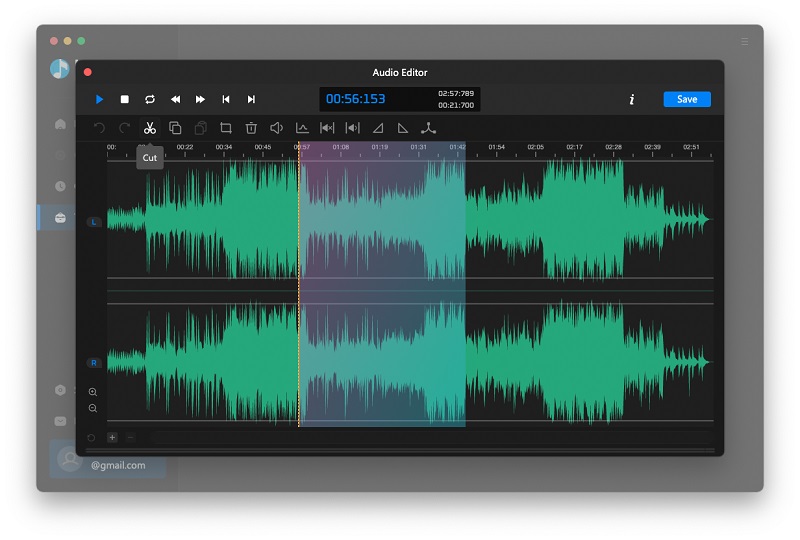
Audio Editor lets you copy, paste, move, trim, split, join audio regions and perform other edits, like fade in or fade out. Click "Open" button to import the desired audio file, and edit them as you like, then click "Save".
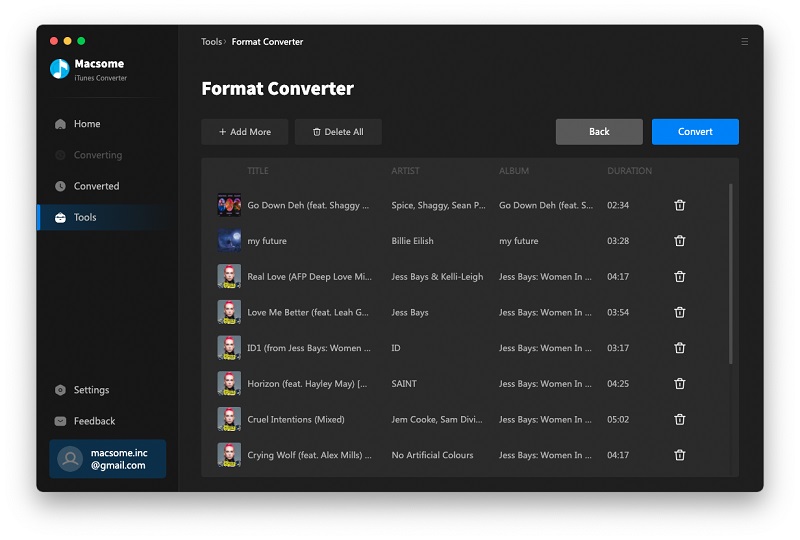
Format Converter: This tool supports converting Apple Music songs or other local music files to MP3/M4A/FLAC/WAV/OGG/AIFF formats.
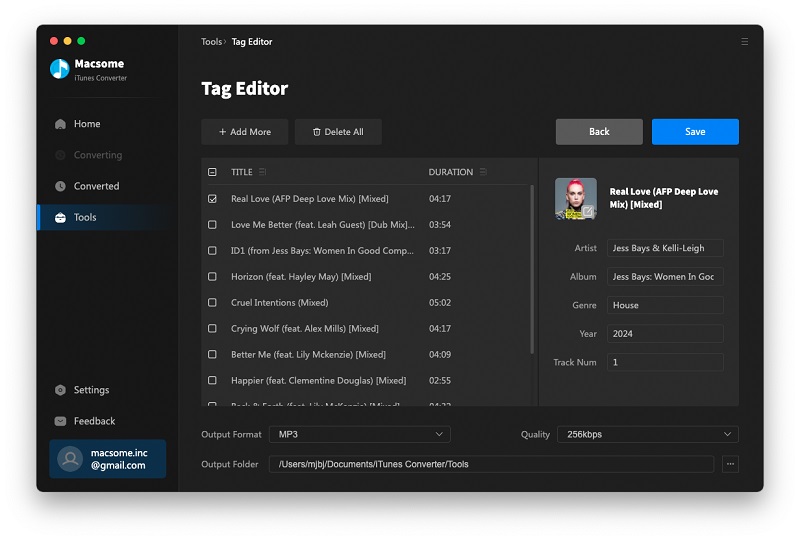
Tag Editor: The program retains the original quality of Apple Music and keeps all ID3 tags after conversion. And you can also edit the meta information by clicking the "Tag Editor" from the "Tools" panel.