Complete Tutorial to Cancel YouTube Music Subscription
- Updated on May. 27, 2026
 Belinda Raman
- General, YouTube Music Tips
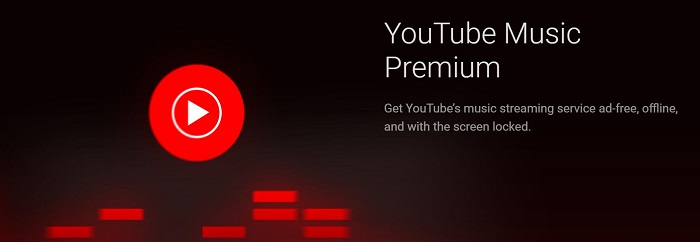
YouTube Music is a popular music streaming service with a free, ad-supported tier that works via your Google account. YouTube Music Premium is a paid music membership for YouTube Music users, which lets you access the entire catalog without ads, download for offline listening, or play music with the screen off. But you need to spend $15.99 every single month to enjoy all these added features.
YouTube Music Premium is a popular choice, but is not the best fit for everyone. If you want to switch from YouTube Music to other services, or you no longer use it to cut your monthly budget. Whatever the reasons, it is relatively easy to cancel your subscription.
In this article, we're going to show you how to cancel YouTube Music Premium subscription. Let's get started.
Part 1. How to Cancel YouTube Music Subscription Using Desktop Browser
To cancel your YouTube Music membership, the easiest method is to use a desktop browser. Here is the step-by-step process.
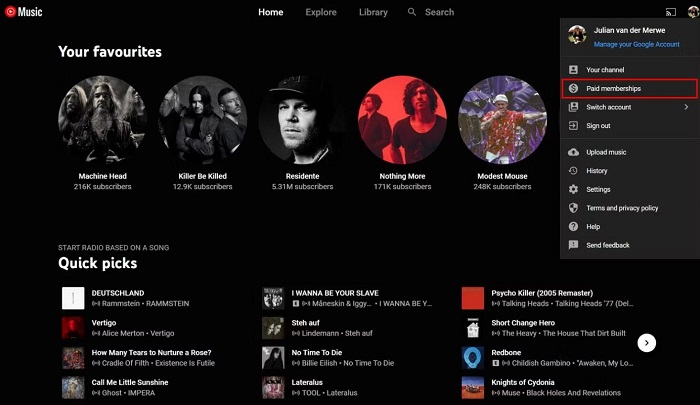
1. Access the YouTube Music player through a web browser and log in to your YouTube Music Premium account. Then click the profile picture icon in the upper-right corner.
2. In the drop-down menu, select Paid memberships to go to the paid memberships page.
3. Click the MANAGE MEMBERSHIP button next to the YouTube Music subscription details. Click the DEACTIVATE button next to your next billing date.
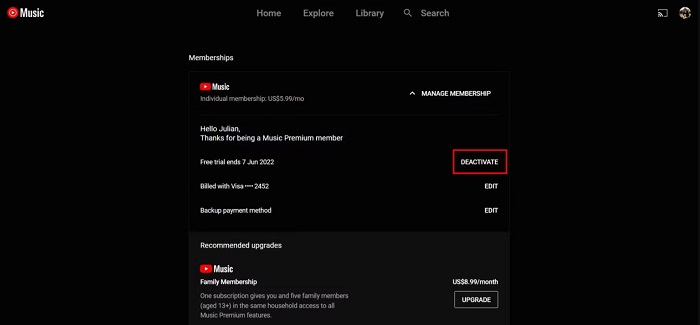
4. Click the CONTINUE TO CANCEL button. You're asked if you would rather Pause membership instead. Click YES, CANCEL to complete the cancelation.
After you complete the above steps, a pop-up confirms that your membership is canceled. Your subscription benefits continue until your next billing cycle.
Part 2. How to Cancel YouTube Music Subscription on Android
Canceling a YouTube Music Premium membership on your Android device is a simple affair, too. Before starting, please make sure that you have downloaded the YouTube Music Android mobile app first. Follow the following steps to cancel your paid membership on an Android device.
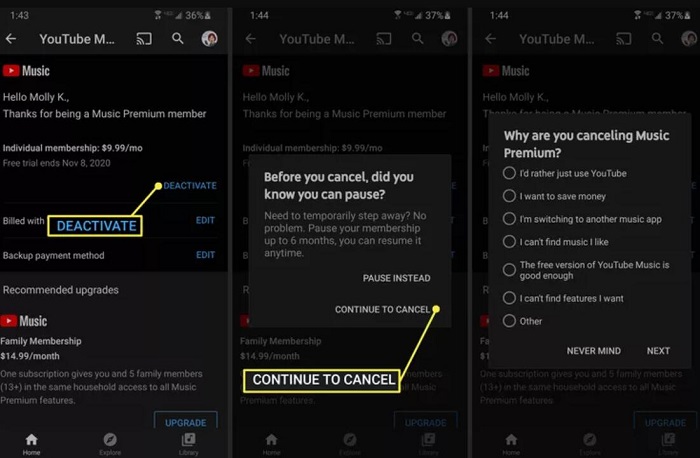
1. Open the YouTube Music app on your Android device. And log in to your Premium account.
2. Click on the profile in the top right corner of the application and then select Paid memberships.
3. The YouTube app will show you your current subscriptions. Tap the membership you want to cancel. Click the DEACTIVATE next to your next billing date.
4. Tap CONTINUE TO CANCEL. Select your reason for canceling and tap NEXT. Tap YES, CANCEL.
Once you confirm, your subscription will be canceled. You'll still keep your benefits until the end of the current billing period.
Part 3. How to Cancel YouTube Music Subscription on iPad or iPhone
There are two ways to cancel your YouTube Music paid subscription on iOS.
If you subscribed through Apple, you can cancel your paid membership from your Apple account directly.
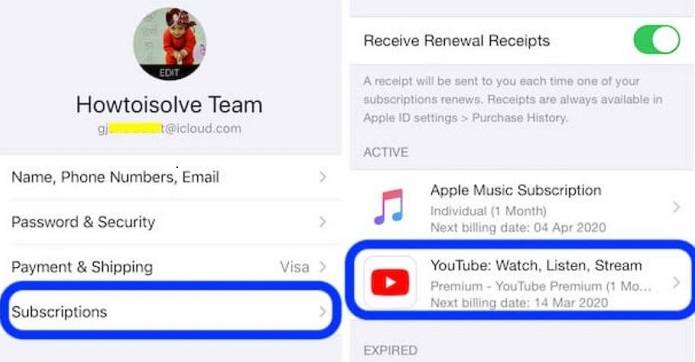
1. Open the Settings on your iPhone or iPad, tap on your Apple ID from the top.
2. On your Apple ID page, select Subscriptions. Scroll down and select YouTube Music.
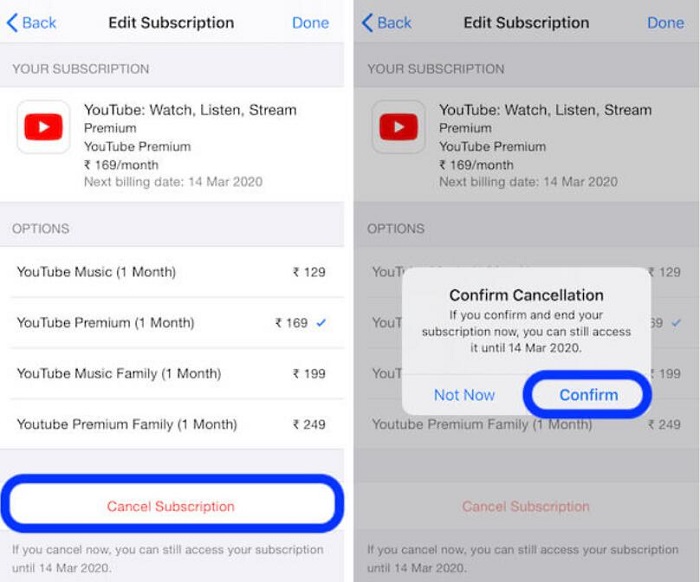
3. From here, tap Cancel Subscription and tap on Confirm.
If you subscribed through YouTube itself, you can cancel your YouTube Music Premium subscription on your iPhone with the following steps.
1. Open the YouTube Music app on your iPhone or iPad, and sign in to your account. Tap on your profile photo. Choose Paid memberships.
2. Tap on the membership you want to cancel. Tap Manage Apple Subscriptions.
3. Tap on your membership. Tap Cancel.
When you cancel your membership, you won't be charged again unless you re-subscribe. Your YouTube paid member benefits will continue until the end of the billing period.
Part 4. How to Keep YouTube Music Playback Offline after Subscription
When your YouTube Music subscription ends, you eventually revert to the ad-based free version, and any music songs you've downloaded are not available anymore. To keep all the downloaded content for playback, Macsome YouTube Music Downloader is strongly recommended for you.
It allows you to download songs from YouTube Music to your local computer with original quality. Thus, you can still play the downloaded YouTube Music songs offline after you cancel your subscription. What's more, you can also download YouTube Music songs, albums, and playlists with a YouTube Music Free account. That's to say, with Macsome YouTube Music Downloader, you can download YouTube Music for offline listening without a YouTube Music Premium subscription.
Besides, Macsome YouTube Music Downloader supports converting YouTube Music to MP3, AAC, WAV, FLAC, AIFF, and ALAC with the main original ID3 tags preserved, such as Title, Artist, and Artwork. In this way, you can play YouTube Music offline on any device without a subscription.
Main Functions of Macsome YouTube Music Downloader
- Support to download YouTube Music tracks, albums, and playlists.
- Convert YouTube Music to MP3 / AAC / WAV / FLAC / AIFF / ALAC.
- Support batch conversion and up to 10x faster conversion speed.
- Keep high output quality and ID3 tag information after conversion.
- Download YouTube Music to computer, MP3 player, iPod, iPad, etc.
Download YouTube Music without YouTube Music Premium
The following section describes how to download songs from YouTube Music without a YouTube Music subscription by using Macsome YouTube Music Downloader. It works on both Windows and Mac computers. The guide below is set the Windows version as an example.
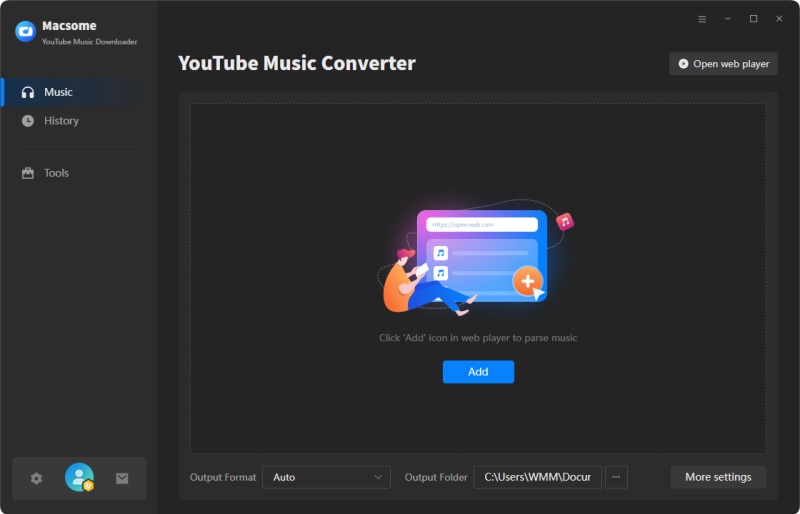
Step 1. Login to YouTube Music Web Player
First, download, install and launch Macsome YouTube Music Downloader on your computer. Whether you are a YouTube Music Premium member or a Free user, you can sign in to the built-in YouTube Music web player.
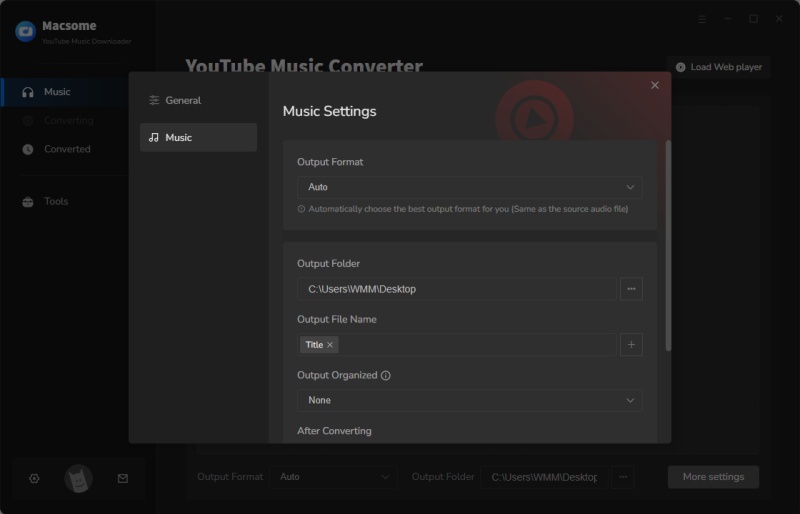
Step 2. Customize Output Parameters
Click the "Settings" icon in the lower left corner, you can set MP3, AAC, WAV, FLAC, AIFF, or ALAC as the output format, and modify the bit rate and sample rate to change the output quality. Besides, you can also choose the output folder as you need.
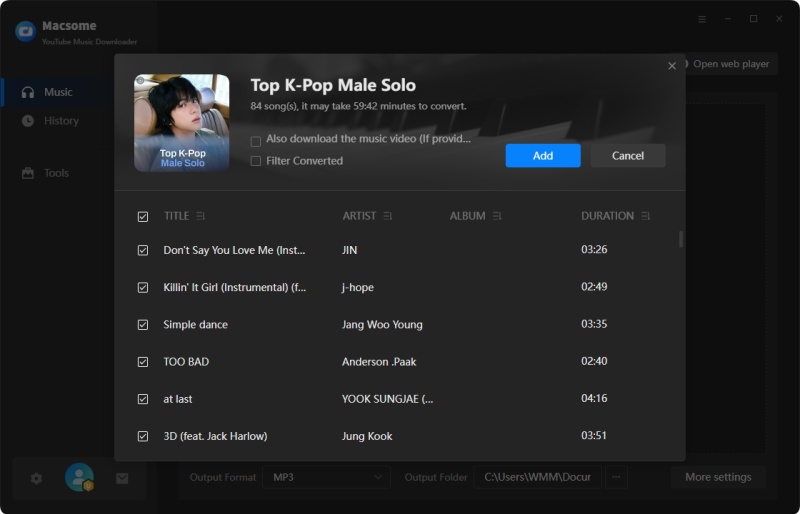
Step 3. Select YouTube Music Tracks and Playlists to Download
Open your favorite playlist, and click the "Click to add" button in the lower right to load the playlist for conversion and download. You can also check on the specific tracks you'd like to download.
Step 4. Start to Download YouTube Music Songs
After all the settings are done, simply click on the "Convert" button to start downloading YouTube Music songs and playlists at up to 10X faster speed.

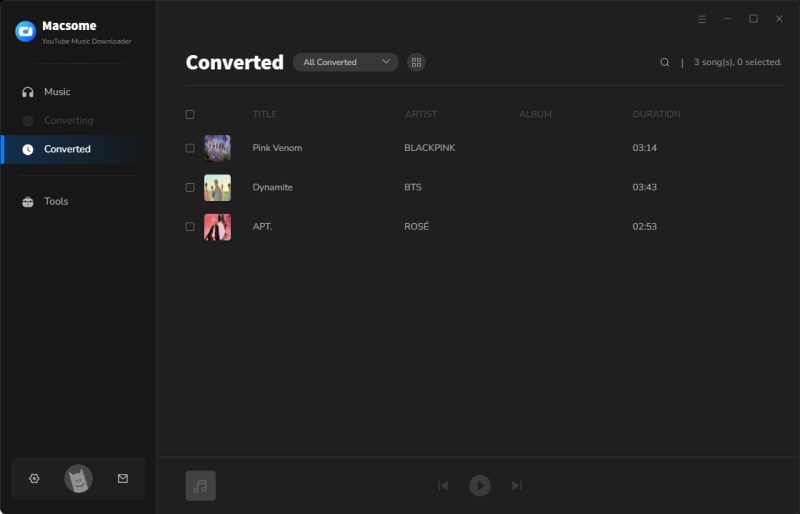
Step 5. Keep YouTube Music for Playback Offline
When the downloading is completed, you can find the downloaded YouTube Music songs by clicking the "History" option. All the songs are saved in the local folder. Then you can keep the downloaded YouTube Music songs offline after you cancel your YouTube Music membership.
Conclusion
It's quite straightforward to cancel your YouTube Music subscription. When your YouTube Music subscription is expired, you will lose your downloads. Luckily, with Macsome YouTube Music Downloader, you can download YouTube Music songs to your local folder with a YouTube Music account. Therefore, you can keep YouTube Music songs forever without a YouTube Music Premium.
Macsome YouTube Music Downloader offers a free trial version for you to download the first minute of each YouTube Music track. Download and try it right now!